12.4 Non-overlapping polygonization
|
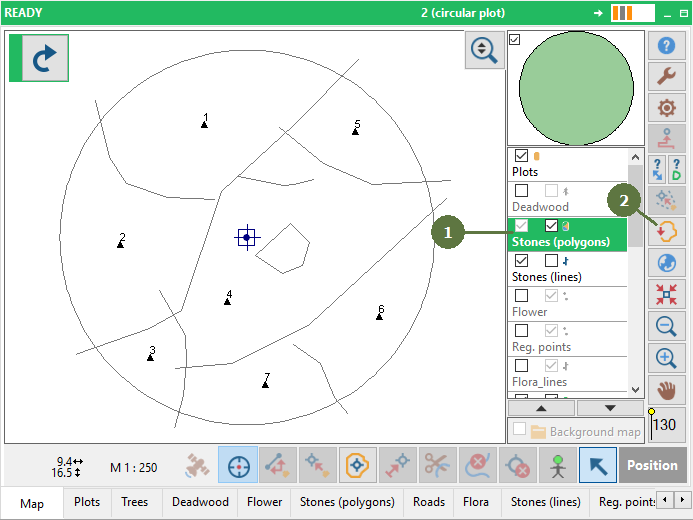
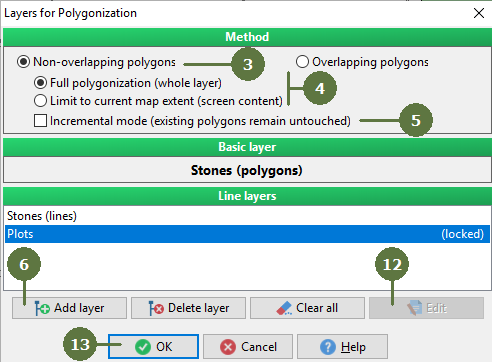
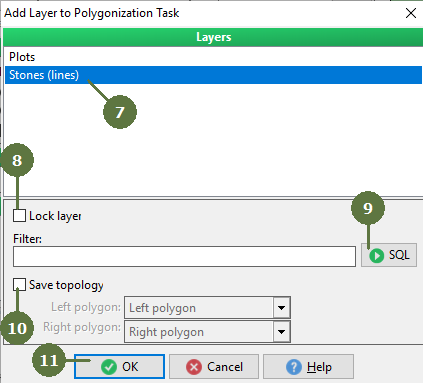
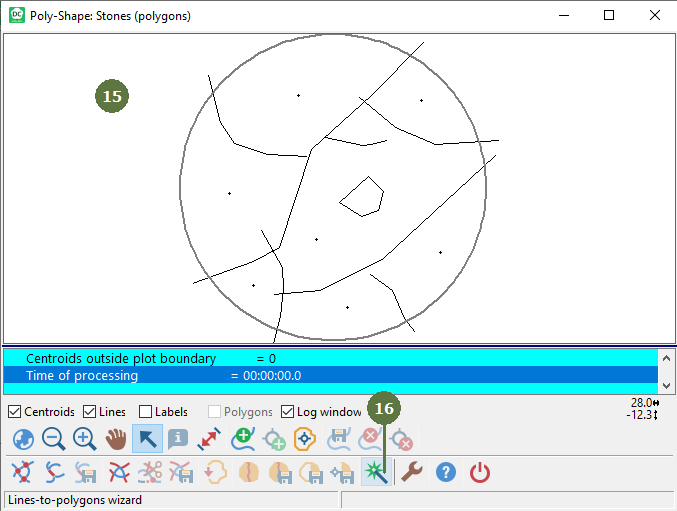
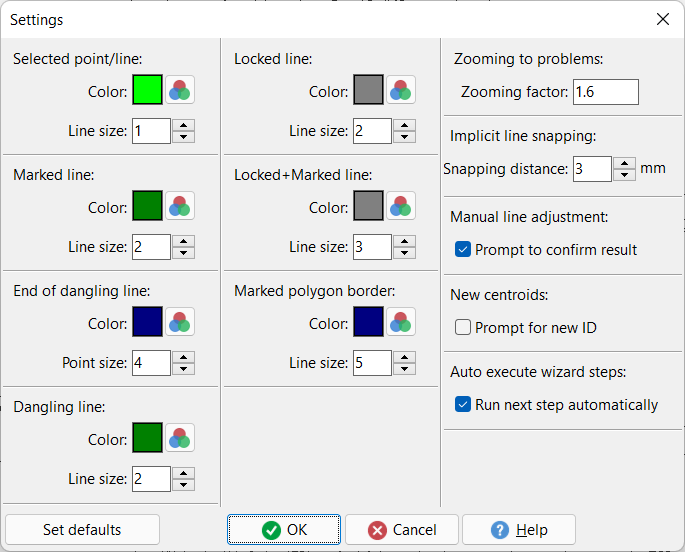
Field-Map calculates area of polygons based on the polygons boundary. Other layers (such as plot border, paths …) may also contribute to the polygon building. Limit to current map extent Polygonisation map area is limited by actual map zoom Incremental mode In subsequent polygonizations existing polygons remain untouched. Layers can be locked, i.e. lines cannot be changed during polygonization. Lines can be filtered by SQL command before polygonization. Poly-Shape window Poly-shape application allows to adjust relevant area using common GIS function. There are two ways going through the polygonization routine. Wizard function is fitting for uncomplicated area and manual way using single buttons enable arrange polygonization parameters during procedure. Implicit line snapping This function allows automatic line snapping for very short undershoots (see Polygonization settings). Auto execute wizard steps: Run next step automatically Simplifies polygonization when using the wizard. Goes through all the necessary steps automatically |
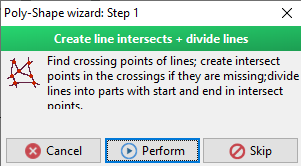
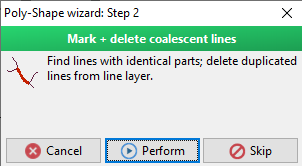
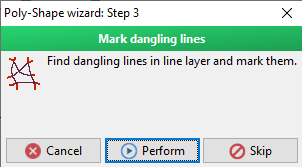
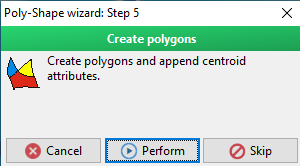
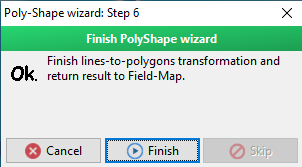
Poly-Shape wizard It will appears six windows. The fourth window appears and it disappears immediately. Click Perform button and at the end click Finish button. Optionally, activate (see Polygonization settings below) the "Auto execute wizard steps: Run next step automatically" function and all steps will start automatically without the need to click the Perform button. When a problem occurs, the automated wizard stops so you can solve the problem and resume.
Polygonization settings You can individually customize and save the polygonization settings.
|