18.1 Navigation to a selected point using laser
|
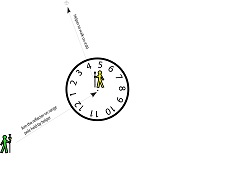
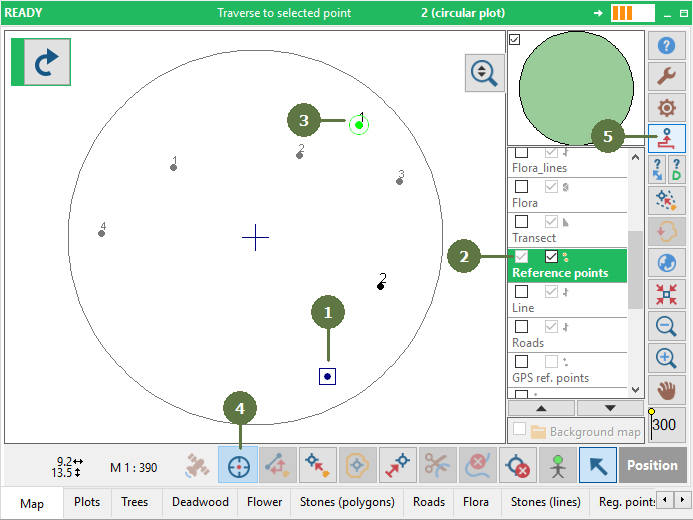
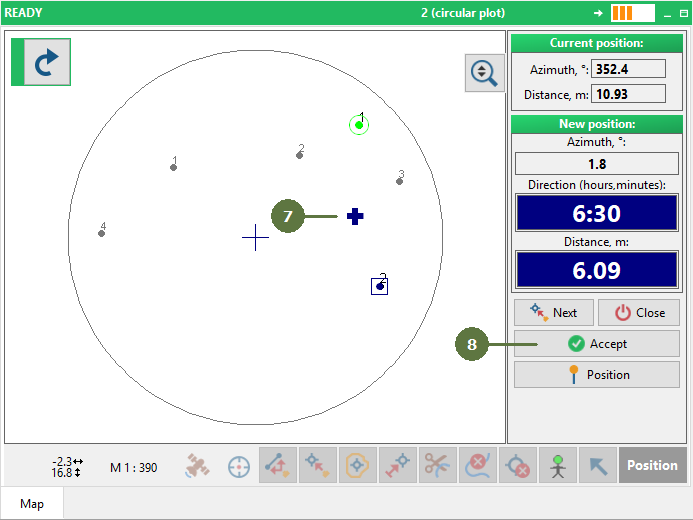
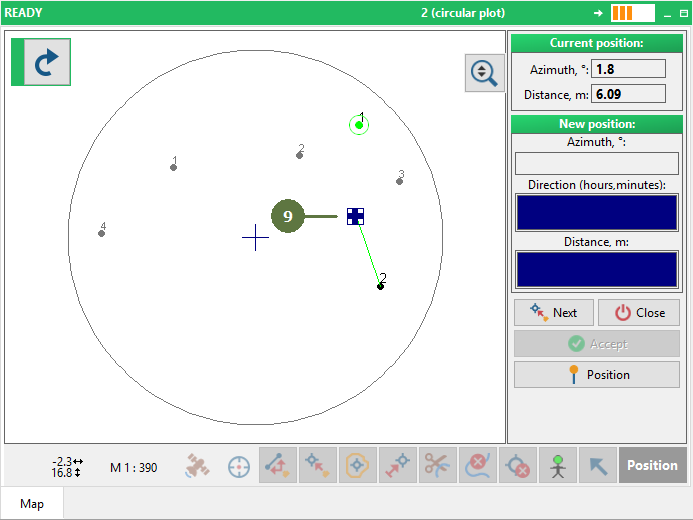
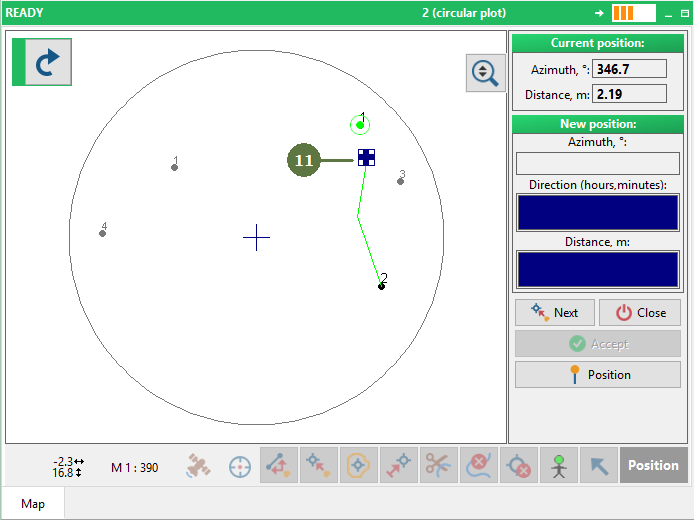
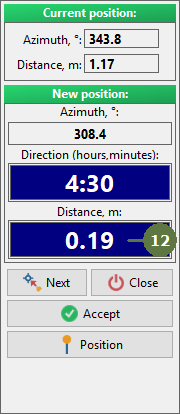
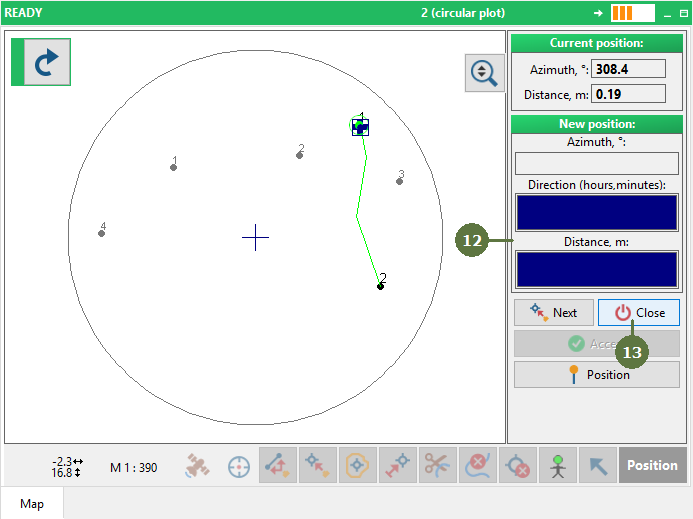
When you start a project in Field-Map Data Collector and you open a plot, your position is set to the origin of co-ordinates (plot in local co-ordinates) or to the middle of the plot (plot in global co-ordinates). You will see a thin dark blue cross (origin) superimposed by a thin dark blue square with a center point (your position). Before you start navigating to the “to point” be sure you are standing in the “from point”. Precision You can increase the precision by increasing the number of measurements (see Settings). Tracking line The tracking line that shows measurement during navigation is displayed in the map. The tracking line can be stored in a line layer when the navigation is finished. Understanding clockwise navigation Because it is difficult for the assistant to estimate the azimuth without a compass, Field-Map uses clockwise orientation. A schematic picture of how this works is given below.
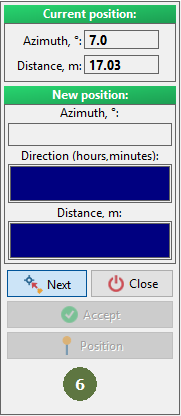
Position of the equipment from your assistant’s point of view is always at 12:00. Therefore if you tell the assistant to walk in the direction of 6:00 he/she should continue in his/her original direction. Angle encoder When accepting new position with angle encoder it is necessary doing backward measurement to establish correct bearing.
|
Method A
Send the field assistant with the main pole towards the target (“to point”) After she/he gets as far as she/he can, but still not out of your sight, aim at the reflector on the range pole using the laser and send data to the computer
You would now walk with the equipment to the position of range pole or to the new position further, closer to the target point When you stand in the correct position, let the assistant walk again towards the “to point”
You would now aim at the reflector again
Method B
|