4.4 General settings - Messages and Positioning

MESSAGES:
- Show messages
If this option is enabled, then more information messages will appear during measurement. This option provides additional information messages for beginners.
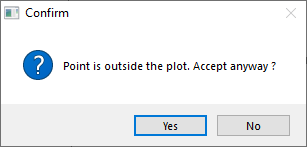
- Message for point/tree outside the plot
Switches on/off messages for points (or trees) that fall outside the plot. This is one of the validation procedures for preventing data from errors.
Example
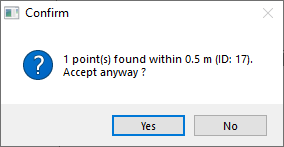
- Message for adjacent points/trees
During measuring of a new point/tree this function helps you to find if another entity is within the search tolerance. The search tolerance is defined (0.5 m)
Example
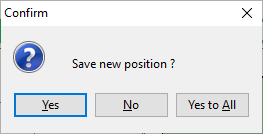
- Confirm manual line adjustment (for current session)
If this option is on, Field-Map asks for confirmation before saving a line after the mouse is released. If this option is off, the changed line is saved automatically.
Example
- Confirm emptying of conditional layers
If the field is tagged, confirmation window appears whenever conditional layer data should be deleted as a result of changed category of the object in lookup list.
Example

- Beep while waiting for signal from device
Switches on/off audio signal from field computers while waiting for data string from laser/GPS device. Field computer has to be equipped with speaker.
- Show measurement assistant
While active the floating window of measurement assistant appears on the screen any time the appropriate measurement is started on. The assistant shows sequence of particular steps of the selected measurement procedure. Below are pictures of measure assistant.
- Show laser trace
When active, green dash line representing laser trace is shown.

- Show info tips
If active, info tips about selected entity appears in the map. Define the content of info tips on the Info tips pane.
- Show polar co-ordinates
Polar co-ordinates (azimuth in degrees or gons and distance from plot center) are displayed instead of planar X,Y co-ordinates on circle plots in degrees or gons.
If you move with a mouse on the map, then the co-ordinates changes

POSITIONING:
- Positioning using 1 or 2 reference points
During the positioning procedure you can use one or two reference points for the calculation of your position. One point is usually enough, but two points may increase precision. For more information check Positioning.
If this option is active, position is automatically moved to the last point of a new line after this new point of a line is measured.
ExampleNext measurement


Measurement assistant
- Equipment settings information. Pole and Equipment height. You can set the height in the settings.
- The mode of measurement. This is to check the settings of external device (laser).


The assistant shows the user what is expected to be measured. In this example the assistant displays steps of tree measuring (using mode: A. distance using position)